Holes need only ¾” of spacing between. We also recommend your strongest drill for this
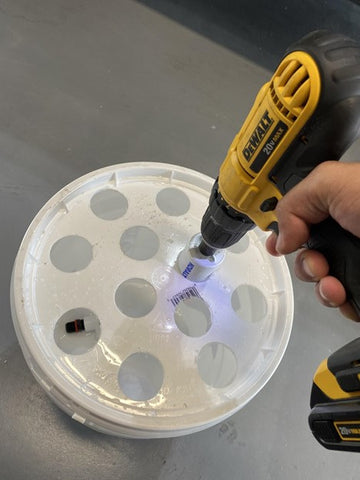
Holes need only ¾” of spacing between. We also recommend your strongest drill for this
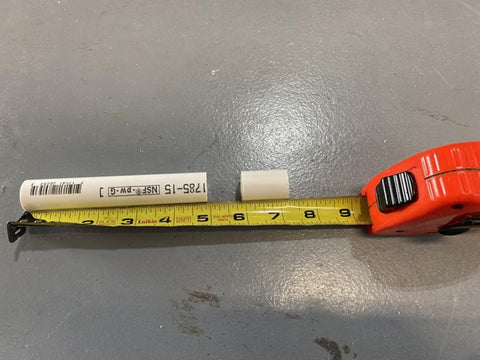
It is better to be on the generous side than on the stingy side with your cuts. The exact size is not necessary
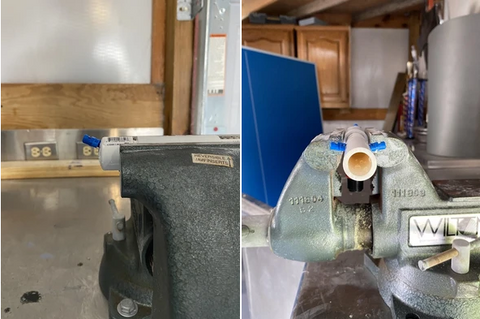
Pay close attention to the angles on the nozzles. This is why we recommend extra materials as these are very easy to drill incorrectly. If you have a clamp, that makes life much easier. Drill the two holes on the longer PVC staggered around the middle of the pipe. If you are using different nozzles, make sure they are a very snug fit, experiment with drill bits increasing in 1/64” increments to ensure a proper seal
Take your two pipes, T brace, two end caps, coupling, and nozzles, and assemble them like such and *** them into the pump. DO NOT GLUE YET
Fill until right before the nozzles are submerged in water. Then plug in and ensure that you are happy with the water dispersion. If not, take your extra materials that you definitely have and repeat the last two steps. A good way to test this is to place the lid on, be careful not to crush the wire, and notice the collection of droplets on the lid
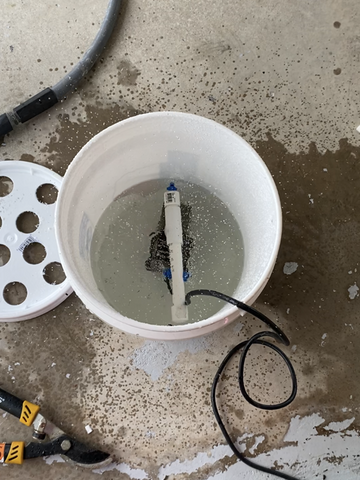
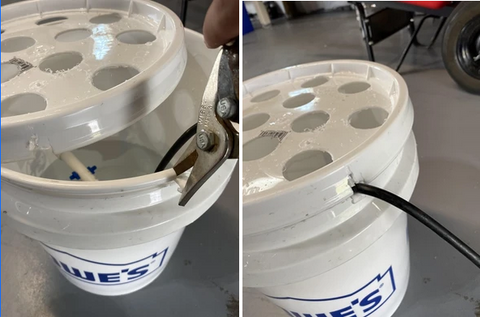
Take anything from a Dremel tool, wire cutters, even a tree trimmer like I used to cut a notch for the wire to run through, and now your Aeroponics Bucket system is ready for use!